Pages

Showing posts with label Recipes. Show all posts

Tuesday, June 17, 2014

Phase 1 Reset: Complete!

Success! I completed my 30-day diet reset last week and I'm here to tell about it!  I began this whole journey to better health as a result of my Hashimoto's thyroiditis (hypothyroid). While my symptoms were fairly mild, I had been experiencing very cold hands & feet, dry skin, hair falling out, and low energy. After doing lots of research on healing Hashimoto's naturally, I came across Chris Kresser's book, Your Personal Paleo Code, and decided to give his plan a try. Lots of people wanted to know if I noticed changes, so now that I've completed the first 30 days, I thought I'd give an update on how it went and how I'm feeling.

First, like I mentioned, my symptoms were mild. I still have them to a degree but I feel like some of them are improving. I've definitely noticed an improvement in my sleep. I used to wake up periodically all night and now I'm sleeping soundly until morning {unless the kids wake me up, of course, ha!}. When I wake up in the morning I've also noticed that I feel rested and ready to get up. I used to always need like 15 minutes of "wake up time" before I felt ready to get out of the bed. That has been a really nice change and I'm sure a side-effect of better sleep in general. Another great positive change I've noticed is that I no longer crave sweets throughout the day, or really snacks at all. I used to keep chocolate in my fridge at all times because at some point during the day I'd have a serious craving and if there was no chocolate I'd end up eating a bunch of other crappy stuff. Now I eat breakfast, lunch and dinner. Occasionally I munch on a few bites of something in between meals, but it's usually something like a banana or some almonds. I am never in need of a "sugar fix."

So, now that the 30 day reset is complete, I had the option to add some foods back to my diet. I knew I wanted to try dairy since I missed it the most and was quite confident it didn't cause me any problems. After a few careful trials, I've added it back completely with no negative effects! I don't eat it the way I used to {half a gallon of milk per week over cereal}, but I enjoy it within the context of my new eating habits. Mostly, I add some cheddar cheese to things like scrambled eggs or a salad. And I made "meatza" which was much better than I had anticipated! The other things I've added back on a very minimal basis are honey and maple syrup. If I do need a little something sweet, I use those instead of regular sugar. I even baked some cookies for father's day that were sweetened only with maple syrup. Beyond dairy and the occasional use of honey or maple syrup, I've had no desire at  all to reintroduce grains, beans, soy, processed sugar, or any other processed foods. That is possibly the most amazing part of this. In the beginning it seems like you're giving up all these foods you love, and by the end you can't even remember why you ever ate them. My personal theory is that it's a function of the sugar controlling your brain. Break free from the sugar and you truly can be happy on just whole, real, healthy food.

For anyone who's interested, here are some of the things I ate during the 30-day reset:
**Side note: I basically wing it when it comes to recipes. I make up my own stuff and change most of the recipes I find to suit our tastes/needs, so I apologize that there aren't more links to these.

Breakfasts: {I usually chose 1 breakfast and ate that for the week}
-Ground turkey, sweet potatoes & apples
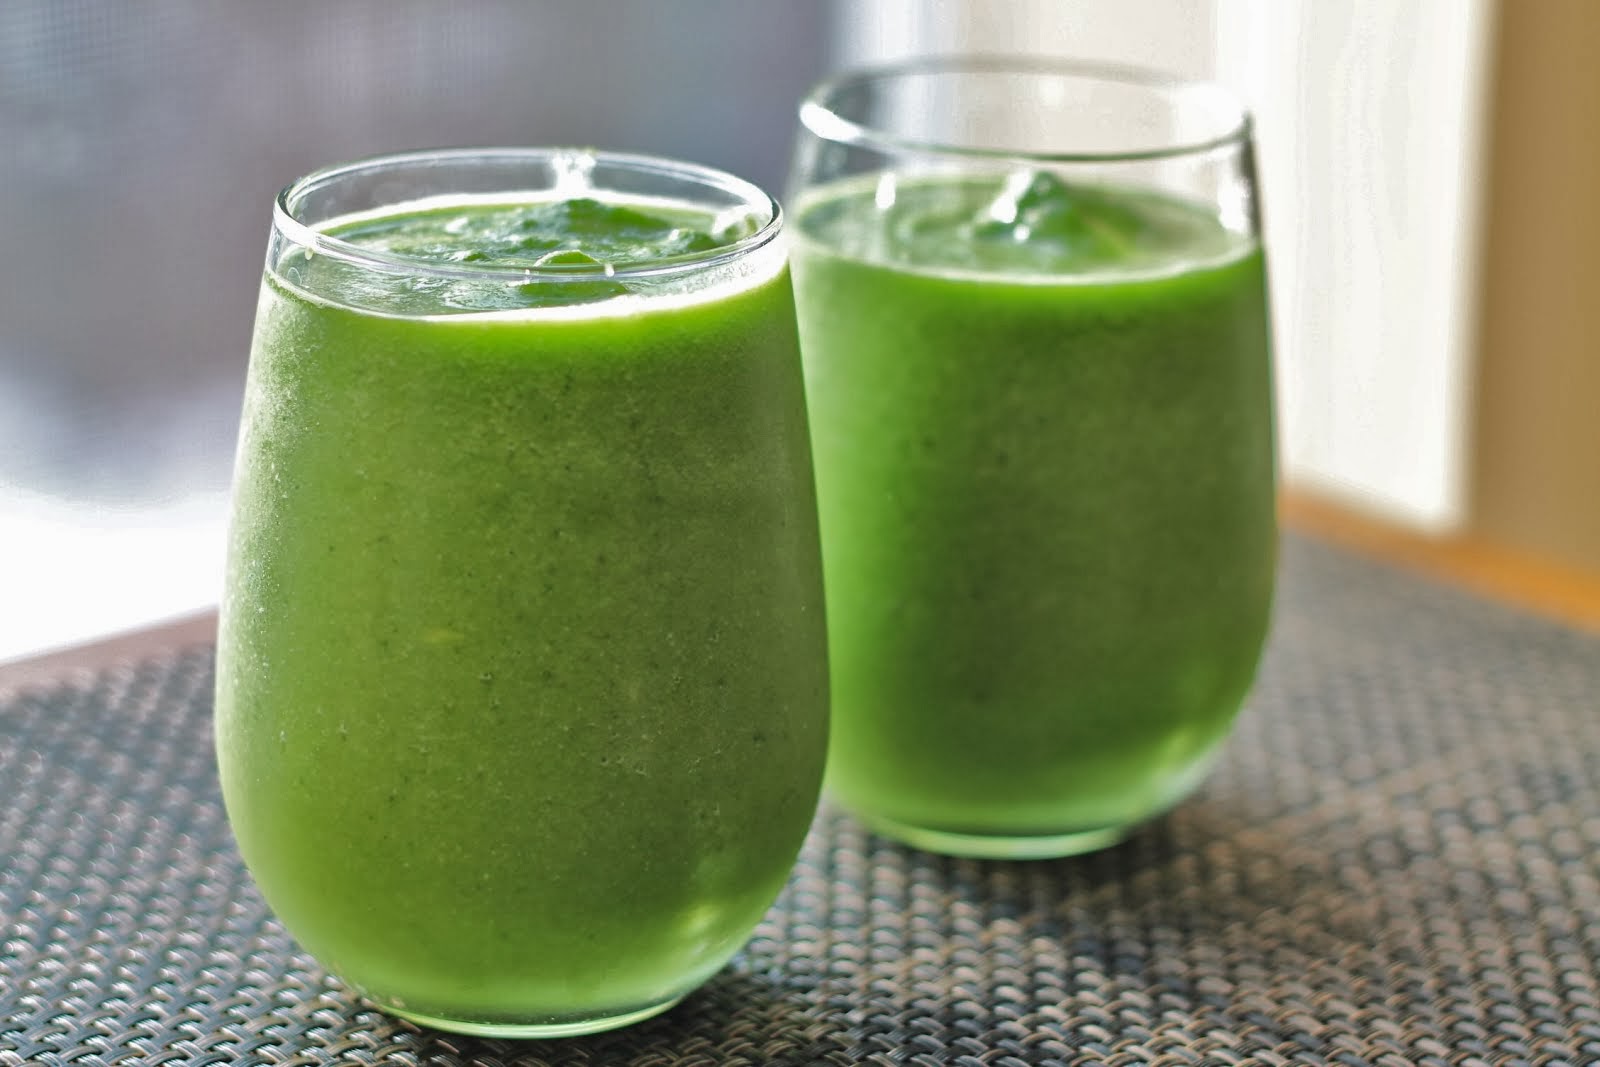
-Smoothies {bananas + berries + peaches + any fruit/veg + coconut milk + chia seeds}
-Turkey meatloaf w/fried eggs

Lunches: {Same as breakfast, usually 1 lunch for the week intermixed with leftovers}
-Leftovers
-Hardboiled eggs w/salad
-Pulled chicken w/salad

Dinners:
-Pulled pork on a sweet potato half
-Asian turkey lettuce wraps {just ground turkey seasoned with coconut aminos, garlic, ginger, salt & pepper. Add some vegetables like carrots, red peppers, green onions and serve in lettuce wraps}
-Old Bay chicken w/sauteed summer squash
-Lemon/pepper chicken {literally just grilled chicken seasoned with lemon juice and pepper}
-Steak & green beans
-BLT's {bacon, tomatoes and any other veggies served in a lettuce wrap}
-Burgers, burgers, burgers {any kind, just serve in a lettuce wrap or over salad!}
-Salmon & sweet potato cakes {mix some salmon, sweet potato, Old Bay seasoning, and an egg. I dusted mine with a little coconut flour before pan-frying in coconut oil just for a little crust on the outside}
-Spaghetti squash & meat sauce {easy and surprisingly good}

There were more, of course, but I was bad about writing them down/remembering them. Sorry! I'd love to remember to do a post each week of the dinners we eat with the goal being to show everyone that this is not a deprived way of eating. We've enjoyed every meal and have tried a lot of new stuff we never would have before. I'll do my best to keep up with that!

In the mean time, we've made a HUGE decision around here {yes, bigger than going Paleo}. It's going to take a lot of our time and energy in the upcoming months, but I'm excited to blog about it. Stay tuned!!

Wednesday, June 4, 2014

How To Celebrate Your Birthday, Paleo-Style

Usually when people hear that you're eating a paleo diet, they ask what the heck you DO eat, since so many foods in the standard American diet are excluded. So imagine the questions when it comes to parties and celebrations. How DO you celebrate something without sugar and flour?! 

I'll tell you.

Over the weekend, I celebrated my birthday. If there's one occasion that you'd like to let yourself enjoy, it's your own dang birthday. But this year, I'm eating better and I wanted to be able to celebrate my birthday without going totally off track. So I did some Pinterest searching and believe it or not, there are TONS of desserts out there that are Paleo-compliant {i.e. made without wheat flour or sugar}. In fact, I'd venture to say that almost any food you love can be made Paleo-compliant. I easily found something that sounded birthday-worthy and within the limits of my cooking skills. The recipe was meant to replicate the taste of a Twix bar. Happily, it did not disappoint! The ingredients were simple. The process was multi-stage, but not complicated. And the final product was really, really good. You would never know that it contains no grains, no refined sugar, no refined oils and best of all- no guilt.

The full recipe can be found here, but this will give you the idea....
You start with a simple crust {the "cookie" layer} made of almond flour, coconut flour, honey, butter, and a pinch of salt. Combine those ingredients {I used a fork} and press the dough into the bottom of an 8x8 baking dish. Bake for about 15 minutes at 350 and then let it cool completely.

For the caramel layer, melt a stick of butter in a sauce pan, add a cup of maple syrup and bring that to a boil. Then slowly add a cup and a half of heavy cream while whisking and bring that to a boil. Whisk for about ten minutes or until it thickens a bit. Then pour the mixture over the cookie layer and place it in the refrigerator to harden.
Side note: if this step seems like too much of a pain, I'd bet your favorite nut-butter would be an awesome substitute and would only require spreading!

For the chocolate layer, simply melt some semi-sweet chocolate with a tablespoon of coconut oil. You can use a double boiler, a heat-safe bowl set over a pot of boiling water, or a microwave. Once it's melted and smooth, pour it over the caramel layer and return it to the fridge until the chocolate hardens.

That's it! Real food. Nothing refined. Plenty sweet and delicious. Zero deprivation. If you don't believe me, here's my 4-year-old eating a piece...

Of course you can't eat the whole pan. I actually had leftovers so I cut them up and froze them on a cookie sheet, then transferred them into freezer bags for later. I thought they'd be a perfect take-along option for parties and occasions when I want to enjoy dessert without wrecking my system.

So if anyone thinks a paleo diet wouldn't work because you just can't give up your sweets, or it would be impossible to enjoy a party... that excuse is now gone. You can have your health and celebrate, too!

Friday, January 31, 2014

Kale & Brussels Sprouts Salad

Three words: Easy. Amazing. Healthy {mostly}. 
Does that count as four words?? 

I found this recipe on Pinterest. It had me at kale bacon. If you're a kale or brussels sprouts fan, or if you're a salad person, or if you're just trying to eat more veggies you need to try this. It's simple to make, packed with super-healthy kale and brussels sprouts, and it's surprisingly delicious. The flavors are all bold, it has the right amount of crunchy texture mixed with the softness of the cheese. It would also lend itself well to a variety of other add-ins {off hand I'm thinking hard-boiled eggs, dried cranberries, diced red pepper, black olives, red onion... you get the picture}.

Here's the recipe...

Ingredients:
Salad:
2-3 cups of kale, washed and chopped
1 lb. Brussels sprouts {I think I eyeballed it and used 3-4 sprouts}, finely shredded
3-4 slices of bacon/turkey bacon, baked crisp and chopped
1/4 cup roasted almonds
1/2 cup pecorino cheese

Dressing:
1/4 cup extra virgin olive oil
2 tbsp lemon juice
1 tbsp dijon mustard
1 tsp shallot, finely minced
1 small garlic clove, finely minced
1/8 tsp kosher salt
Pinch black pepper

Instructions:
Combine kale and brussels sprouts in a medium bowl. In a small bowl, jar, or salad dressing bottle, whisk together all dressing ingredients. Toss dressing and greens until well combined. Top with cheese, bacon, and almonds.

I made a few small modifications to this recipe. I left the shallots out of the dressing, skipped the almonds, and used feta instead of pecorino cheese since I already had it for another recipe. I also stored the salad in jars since I planned to eat it for lunch over the course of a few days and wanted it to keep nicely. Also because of that, I decided not to mix in the bacon and cheese. I just added those when I got the salad out to eat each day. I had about 4 mason jar-sized portions from what I made. 

When I blew through my first batch, I made another and tried it with this dressing instead. The flavors were good, I just personally have a hard time with plain greek yogurt. The sour/bitter/bite whatever-you-want-to-call-it just doesn't work for me. It especially didn't work with the already bite-y feta in this salad. If that's your thing though, give it a try. I'm ordinarily a big honey-mustard fan.

I love to have such an easy and healthy go-to lunch that I can prep ahead and have on hand, ready to eat. I find when that's the case, I have no trouble sticking to clean, healthy lunches. The middle of the day is usually no time to start measuring, mixing, and chopping around here so simple recipes like this are one are exactly what I need :)

What healthy stuff are you eating for lunch??

Saturday, January 11, 2014

Eating Better in the New Year

Welcome to the first post in my series, "Doing Better in the New Year!" I don't really make New Year's resolutions, but I do like to take the opportunity at the beginning of a shiny, fresh new year to think about what I'd like to change or do better this year than last year. It's nice to set out in the new year with a few goals in front of me. One of the things I plan to do better in 2014 is eat better.

We don't actually eat that badly as it is. When it was just the two of us and we still had 25-year old metabolisms, I didn't really think that much about what we ate. We just kind of ate what we wanted, ate out when we wanted, and just didn't worry about it. All of that changed when Carsen was born. That's when I started paying attention not only to healthier options, but started buying more organic foods, started reading more information on healthy ways of eating and the latest research on nutrition, and watching out for things that really shouldn't be in our diet at all like artificial ingredients.

Three years later we've made a lot of progress and are eating much better than we used to, but there's always room for improvement. And even though we've learned a lot about cleaner eating, some of those habits can be hard to kick {choc-a-holic, right here}. We're a long way from perfect, but I'm a strong believer in taking baby steps to make a goal achievable. Changing small things at a time and conquering those tough habits one by one takes time but helps make the effort more manageable and less overwhelming. If I woke up one day and couldn't eat any sweets, carbs, dairy, or anything from a package, I might have a panic attack.

To be clear, eating better for me does not mean cutting out entire food groups. In fact, I find that as soon as I make something off-limits I want it even more than I did before. Instead, I try to focus on what I should eat, and still allow myself to eat the not-so-good stuff if I want it, just not all the time {kind of like an 80/20 rule, but maybe even more like 90/10}. I like knowing that I had the option but chose something better. For example, instead of making cereal totally off-limits for breakfast, I'll try to eat eggs with vegetables, or a fruit & veggie smoothie most days of the week. I find if the new options are interesting enough {eggs baked into tomatoes, yum!} and don't require too much work, then I'll be excited to have them every day. It's certainly easy enough to scramble or hard boil a big batch of eggs on Sunday to eat during the week and I'm definitely going to try some new smoothies like this one or one of these, and I really like this idea. I'd love to get the hubby and kids on board with some more vegetables and I think smoothies might be just the trick. Plus I can add chia seeds and other goodies that they'll never know about ;) There will always be times that I'm in a hurry or just really want a bowl of cereal. For those times I'll keep healthier cereal options in the pantry.

Kale & brussels sprouts salad - don't worry, it has bacon
When it comes to lunch, I often rely on the good ole turkey sandwich. It's quick, easy, doesn't require cooking, and simple enough to keep the ingredients on hand. However, it's not so great for you. Lunchmeat is processed and full of sodium, and bread is something {in my opinion} we should all try to eat a little less of. Again, I wouldn't swear off sandwiches, but for the every day I need to aim for a better lunch plan. A little bit of Pinterest perusing and I'm thinking about adding things like this, this, or this to my standard rotation. I also like a good cobb salad but it can be hard to find a salad dressing that isn't total junk. I found this recipe for a honey mustard dressing that I'm going to try out though and see if that can help keep me in the salad habit for lunch time! Of course, I'm sure I'll still have a turkey sandwich from time to time among other things.

Dinner has always been my easiest meal to plan. I usually just pick a meat, prepare it some way we like, and have a vegetable for the side. Or if we're going meatless, as we do for half of our meals {actually half, not just figure-of-speech half}, then it's usually beans, quinoa, or eggs as our protein source instead of meat. I don't believe in fake meat substitutes like tofu.

Coconut Cream Larabars - My Whole Food Life
Snacks... are my weakness. I have a sweet tooth. Actually it's more like a chocolate tooth. If I try eating an apple instead of chocolate, I end up eating 3 or 4 other things too because, really, an apple doesn't satisfy a chocolate craving. I have found that energy bars like Clif bars or Larabars do the trick since they taste like a treat but are also pretty satisfying. The problem is they're expensive, and you have to watch the ingredients in some brands/varieties. They're really meant to be more like a small meal than a snack, so they're higher in calories than you'd want a regular snack to be- another caveat. Thankfully, there's a great blog I read called My Whole Food Life which is full of recipes for all kinds of wonderful dishes, including homemade energy bars. I've made her most popular Coconut Cream Larabars before, but it was before I had my food processor so the texture didn't turn out. I wanted to wait until I had my food processor to try again, and I just got one for Christmas! I'm really excited about trying some more of her recipes like this one, this one, and this one to keep our snacks healthy and clean. Just to clarify, we don't currently snack on chocolate all the time. Carsen and I both love string cheese, cheddar, raisins, a variety of fruits, and nuts. I try to stick to those {or something similar} for the most part so she develops healthy snack habits. It's me personally who needs to have a better alternative when I'm tempted to grab a handful of m&ms!

Are you eating better for 2014? Trying to better yourself in other ways? In addition to eating better, I'm also trying to parent better, workout better, and better our home in 2014! Stay tuned for those upcoming posts and some others in this series :)

Friday, November 15, 2013

Chicken & Butternut Squash Stew

As usual, I was surfing Pinterest for some new dinner recipes the other day. I'm big on seasonal food, so I love making soup in the fall and winter. I had a recipe for chicken & butternut squash stew pinned to my dinner board and had been anxious to try it. As it was written, though, it required a lot of standing at the stove. With two littles in the house, dinner making is enough of a challenge. I really have to simplify as much as possible and minimize the amount of time spent actually prepping and cooking. So I did the natural thing - made it in the crock pot! I have to say, it couldn't have been easier!

20131113-142503.jpg


Here's what I used:


  • 1/2 butternut squash, peeled and diced {you could also just get a smaller one, but I just freeze the rest to use later in other recipes or baby food}

  • 2 chicken breasts

  • 28 oz can of diced tomatoes

  • 14.5 oz can of black beans {rinsed and drained}

  • 3 cups of chicken broth {1 full box, -1 cup}

  • 2-3 cloves of garlic, finely chopped

  • 1-2 teaspoons of brown sugar to take the edge of the tomatoes, maple syrup would work as well if you don't like adding sugar ;)

  • 1/2 cup of uncooked quinoa


Here's what I did:
Toss everything into the crock pot except for the quinoa and 1 cup of chicken broth. Cook on low for 4-6 hours. Scoop out the chicken breasts and shred them up. Then add them back to the pot. You could also cut them up into chunks from the get-go and skip this step if you prefer chunks over shreds. Then cook 1/2 cup of quinoa in the remaining 1 cup of chicken broth. Once that is cooked, add it to the soup. You're done!

20131113-142611.jpg


This was a huge hit here in The Luckiest Household. Even my husband, who is not a big veggie guy, loved it and promptly packed up the rest in individual servings to take for his lunch. We'll definitely be making this again!


Whenever I make a new recipe I usually come up with improvements to the process or the ingredients either while I'm cooking or after tasting it. For this one, I already mentioned adapting for the crock pot instead of standing at the stove. I also eliminated a bunch of prep steps with the squash by simply dicing it and tossing it in the pot. While I loved the taste of this soup just as I made it, I also think it would be really good with some heavy cream and fresh grated parmesan cheese. Or you could spice it up with your favorite hot sauce, some red pepper flakes, or even chopped peppers right in the soup. It would be interesting to change up the meat too- pork or beef both seem like good options.

If anyone makes it, let me know how it turns out in a comment and share what (if any) variations you used! Enjoy!


Sunday, August 4, 2013

What's for "Pinner?"

For the next two weeks we'll be eating "Pinner"... Pinterest-inspired dinners!


These are all recipes from my Pinterest dinner board and all recipes we've never tried before (except the enchiladas, which are a tried-and-true Pinterest dinner). You're probably wondering how six meals are going to make two weeks worth of dinners. Here's how my system works...

Monday: cook
Tuesday: cook
Wednesday: cook
Thursday: leftovers
Friday: take-out
Saturday: breakfast for dinner (if we're home)
Sunday: big dinner at my mom's house

So technically I only cook three original meals per week. It's a great system. I love that we eat our leftovers so they don't get wasted. Bonus: our fridge stays clean and uncluttered! Rarely am I pulling a container of mystery food from the back weeks after it was put in there. It's also a night I don't have to start a new meal from scratch so it saves time. It also saves money both in that we're not wasting food, and that I'm not buying groceries for 5+ new meals every week. 

Rather than six individual posts, I'll write one big one at the end to let you know how our "Pinners" turned out, including photos, links to the recipes we used, and our reviews. Stay tuned!

Wednesday, March 27, 2013

Why Not Bake?

As I've just outlined all the things one must stay on top of while waiting for a baby to arrive, I find myself using today's nap time to whip up a new Pinterest recipe. Luckily, it was a very very simple recipe so it didn't take up much time. Writing this will probably take more time than the recipe. But let's be honest, what pregnant girl could resist trying "2 Ingredient Cookies"??

Here is the link from the pin I found. The only two ingredients in the original recipe are bananas and oats. Seriously, you mash up the bananas with a fork and mix in the oats...

That's when the fun begins though. As you see in these photos with the chocolate chips, you can add in any number of other ingredients to your liking. I added a sprinkle of cocoa powder, a spoonful of peanut butter, and some chocolate chips to mine. Yum.

Other add-ins I thought of were...
 - Cinnamon and cut up apples, or apples and peanut butter
 - Raisins and walnuts (maybe also cinnamon)
 - Peanut butter or butterscotch chips
 - Diced peaches or strawberries, or both!
 - Craisins (I love the cherry ones)
 - Coconut
 - Blueberries
....basically anything you would eat in your oatmeal or a muffin. You bake them at 350 for 15 minutes and voila! The cookies aren't super sweet, which I liked. There's no sugar other than what you get from the banana and any add-ins. You could add sugar if you wanted, but I thought they were great as-is. They definitely satisfy a cookie craving without any guilt. Win! :)

These would be perfect after-school snacks or even as a treat to send to school with your kids if you didn't want to go the traditional cake/cupcake/brownie route. Also easy to throw together if a friend is stopping by for coffee or something like that. I can't wait to try some other variations and see how they turn out!

Thursday, February 21, 2013

Easy DIY Baby Food / Pouches

We are currently past (or in between, I guess) the baby food stage since Carsen is now 2.5, but she is a huge fan of the organic fruit & vegetable pouches. We love to use them when we're on-the-go as an easy, but still nutritious, snack. Sometimes if we're going somewhere fun and I know she's unlikely to to stop and eat a meal, I'll bring one of those pouches so that I know she at least got some kind of nutrition. If you've ever bought these pouches though, you know that they aren't cheap as every variety I've ever found is around $1.50 per pouch. If I buy 10 or so at a time to have on hand, I'm spending roughly $15 on pouches.

Since whole fruits and vegetables are much cheaper by quantity than the pouches, why not just buy the fruits and vegetables and skip the pouches? There are a couple of reasons. First, pouches are much more portable. They take up significantly less space in your bag than individual servings of different fruits and vegetables. They don't need to be cooked or refrigerated. They aren't at risk for squashing or bruising since they're already pureed - though if you tried really hard, they could potentially burst. AND they are suitable for eating in the car (if your child is able to handle a squeeze pouch with minimal supervision) whereas you might not hand your toddler a carrot or spinach leaf to munch on while in a moving vehicle.

What's a mom to do? Lucky for me our local eco-friendly, baby/mama-centered consignment boutique (that's what they call themselves) has started selling re-useable pouches that can be filled with your own food. Wait, let me clarify that. The store also sells NEW items, these are not re-usable as in "consigned" food pouches. {Ick.} They offer the best of both worlds - I get to buy my own organic produce for a fraction of the cost per quantity than pre-pouched food, and I can still serve it easily on-the-go in the convenient pouch form.

Originally I thought it seemed too time-consuming to make my own pureed fruits and vegetables, but I'm here to tell you that it's easy. Really. I already had everything in my kitchen that was needed, and in one 2-hour nap time I was able to make a variety of purees for weeks worth of pouches.

Here's my how-to...

What you need:
-Vegetable peeler (a knife will also do, but may be trickier)
-Mixing bowl
-Blender/food processor/hand blender/potato masher
-Ice cube trays
-Freezer bags
-Reusable pouches

Process:
1) Peel the fruit or vegetable if needed. I'll use apples as my example.


2) Chop into chunks

3) Place in a sauce pan or pot (depending on quantity) with 1/4-1/2" water

4) Cover and steam until soft

5) Place chunks and some of the steam water if desired into a mixing bowl. If you're using a food processor or blender you don't need the mixing bowl.

6) Use your implement of choice (I used a hand-blender which I really love) to puree the food.

7) Spoon small amounts of puree into ice cube trays and freeze until solid


8) Place frozen cubes into freezer bags, label, and return to freezer until needed. The individual cubes make it easy to pull a little bit of this and a little bit of that to make your own mixtures.

Some foods don't require peeling, like broccoli or spinach, and some foods don't require cooking like pears or blueberries. Other foods require nothing but scooping & freezing like Greek yogurt or canned pumpkin. You can also use frozen options which often eliminate the peeling and chopping steps - just thaw, steam and puree! If you have a baby who needs pureed food you can take small portions of your family dinners and puree them for later. So it's a slightly different process depending on what you're making, but the bottom line is that once the food is soft enough to be pureed then you just use your preferred method and you're all but done. It would be easy to do a big batch on a Sunday while your babes nap, or you could do smaller batches one night each week. 

For $5.99 a 3 lb. bag of organic apples made enough apple sauce to create 10+ pouches depending on how I mix them with other fruits and vegetables. The same number of store-bought pouches would cost me 2-3x that amount. As a one-income household, we'll be even happier about the savings once Reagan is ready for baby food in another 7-8 months and we're going through even more of it. 

For anyone who's interested, here are a few DIY baby food resources that I've found helpful:
- Top 100 Baby Purees by Annabel Karmel A great book that not only offers basic information and instructions for making baby food, but breaks down food recommendations by age and offers creative, baby-friendly mixtures and recipes. 
- Wholesome Homemade Baby Food A website that also gives great tips and advice for making baby food broken down by age.
- The Peaceful Mom blog A DIY baby food plan and free printable menu planner. Also an overall great blog for parenting and saving money and keeping an organized household.
- Pinterest as always :)

Leave me a comment if you have any questions or DIY baby food making advice!